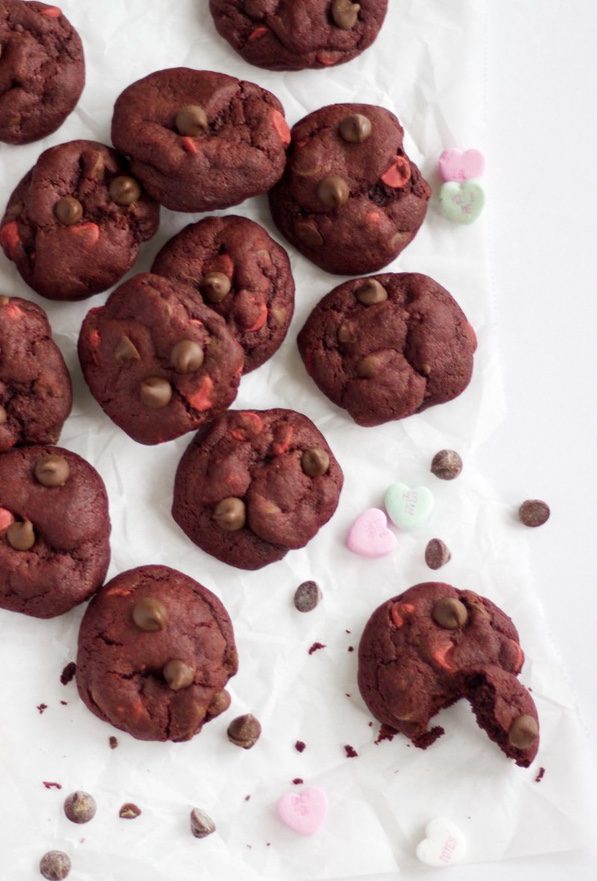
I can't wait to show you how to make red velvet cookies! These cookies are without a doubt the best cookies I've ever had. They are soft, chewy, super moist and of course because they are red!
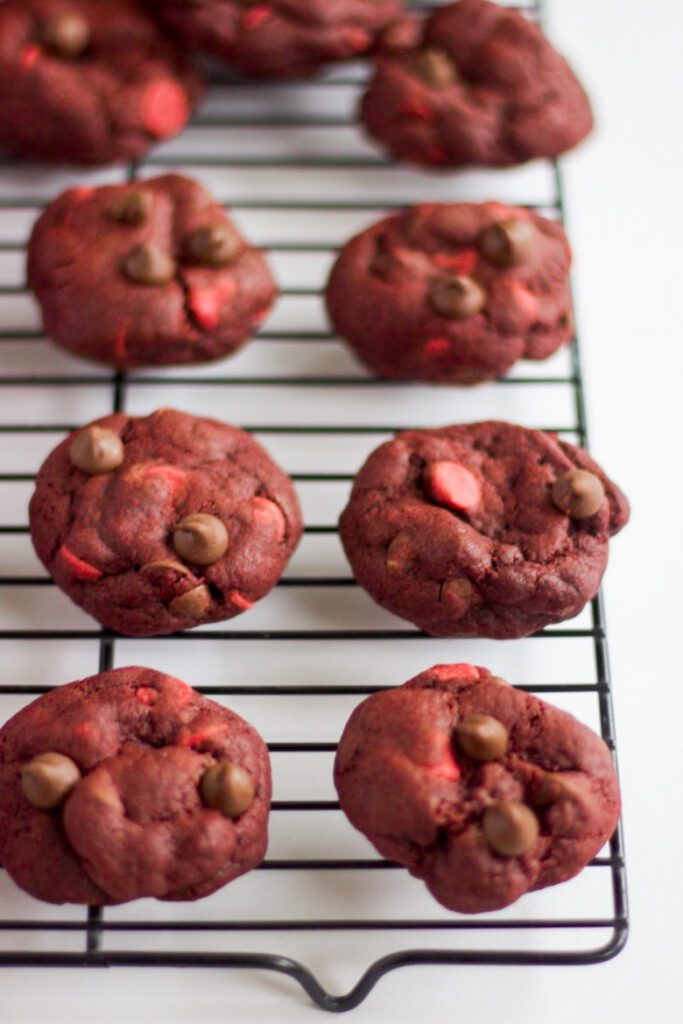
Why You'll Love these Red Velvet Cookies
- They are soft on the inside and chewy around the edges
- They are super cute and the perfect Valentine's Day treat
- Hands on prep for these cookies is only 10 minutes and they only bake for 10! (do note, the dough does require chilling, but this is considered hands off!!)
- They use simple ingredients that you probably have in your pantry already.
How to Make Soft and Chewy Cookies
Begin by creaming together your butter and brown sugar in the bowl of an electric stand mixer using the paddle attachment. Creaming is crucial to creating light and fluffy cookies.
Next, add in your egg, vanilla, milk, and red food colouring.
Finish by gradually pouring in your dry ingredients. Mix only until combined.
Fold in your chocolate chips. I've used a combination of coloured red and brown chocolate chips in this recipe. Feel free to substitute with white chocolate chips, dark, semi-sweet or milk chocolate!
Refrigerate sealed cookie dough for 2 hours minimum. I was heading out the door after preparing the dough, so mine chilled for 2.5 hours!
Remove from the refrigerator, roll into balls and bake for 10 minutes or until the top of the cookies are no longer shiny.
Allow to cool on the tray for 2-3 minutes before transferring to a cooling rack.

Measure your flour properly. Do NOT use your measuring cup to scoop flour. Instead, I like to use a spoon and scoop flour into my measuring cup and then use a knife to level it off. Using the measuring cup to scoop flour packs down the flour and you'll end up with more flour than the recipe calls for and your cookies will be dry. The opposite of what we want in a good cookie recipe. Here's demo of how to properly scoop your flour.
Chill your cookie batter. This step is crucial to prevent your cookies from spreading and ending up extremely flat. I like to chill my cookies in the stand mixer bowl covered with plastic wrap. Your cookie dough should be firm and cold to touch. I let mine chill for 1.5 hours, but make sure to feel your dough and chill longer if necessary.
Don't over mix your butter. It's important to whip your butter and brown sugar together to incorporate air into the cookies to create light and fluffy cookies, but it's equally important not to over mix them. If you over mix your butter it will become too soft and the cookies will not hold their shape when baked.
Use the right butter. I recommend unsalted butter for 95% of the recipes on this blog. Using salted butter will result in overly salty and not very tasty cookies.
Don't over bake your cookies. Over baking these cookies will cause them to become crunchy and dry.
These cookies keep fresh for 5-7 days in an airtight container at room temperature. You can freeze the baked red velvet cookies in an airtight container for 2-3 months. Allow to thaw on the counter and enjoy!
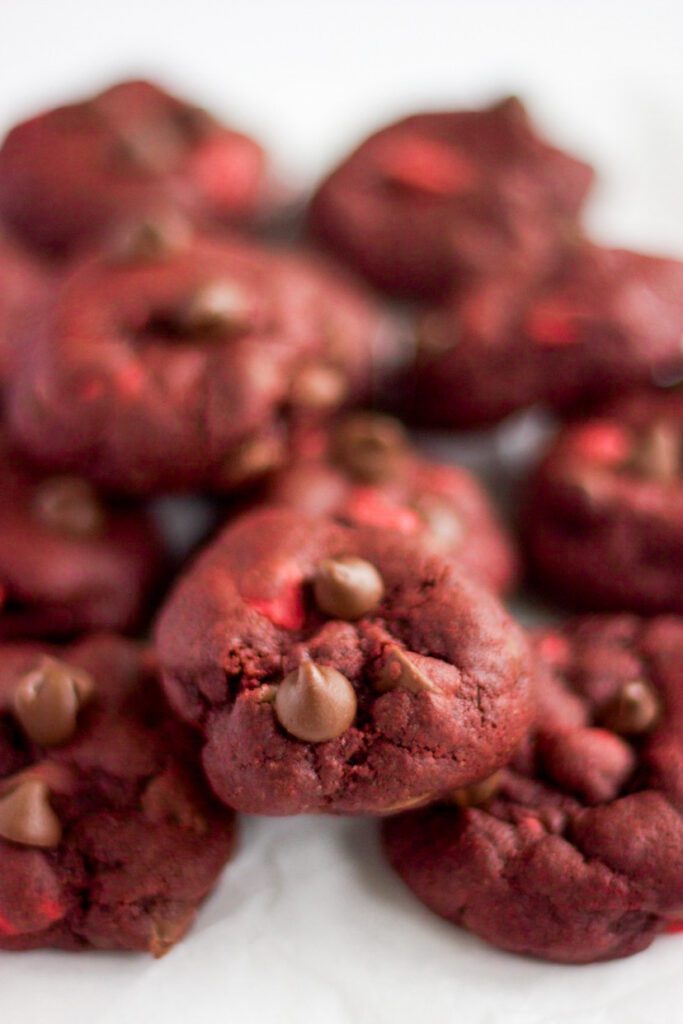
Other Easy Cookie Recipes You'll Love
Simple and Delicious White Chocolate Chip Cookies Recipe
Highly Addictive Butterscotch Cookie Recipe
The Best Monster Cookie Recipe
If you try this recipe, make sure you take a photo and tag BAKED by Blair on social media and use the #bakedbyblair. I would love to hear how you enjoyed the recipe, so comment below! If you want to pin this recipe and save it for later, go ahead and click the pin button above and save it to your favourite desserts board on Pinterest! ENJOY!
More Valentine's Day Treats
If you're looking for more Valentine's Day treat ideas, check out these delicious ideas before you go. All you need to do is click on the links below the photos!
Valentine's Day Oreo Truffles from Clean and Scentsible
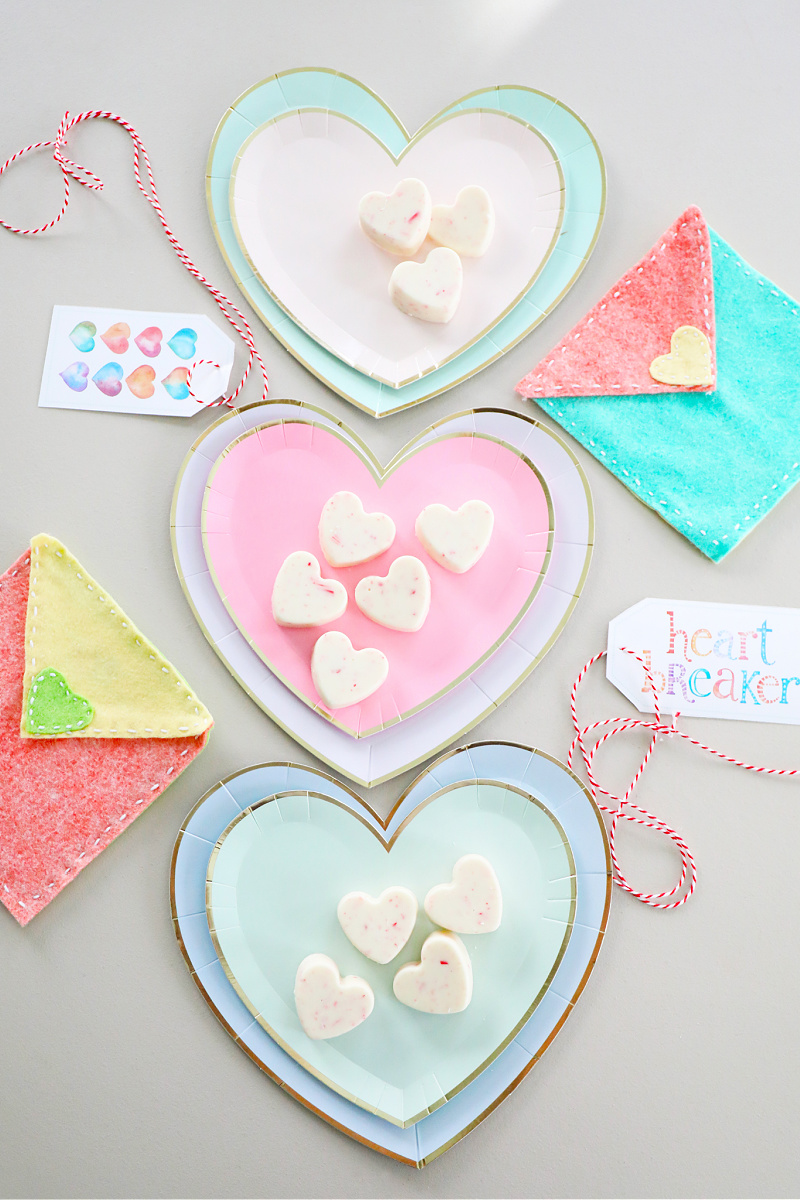
White Chocolate Peppermint Hearts from The Handmade Home
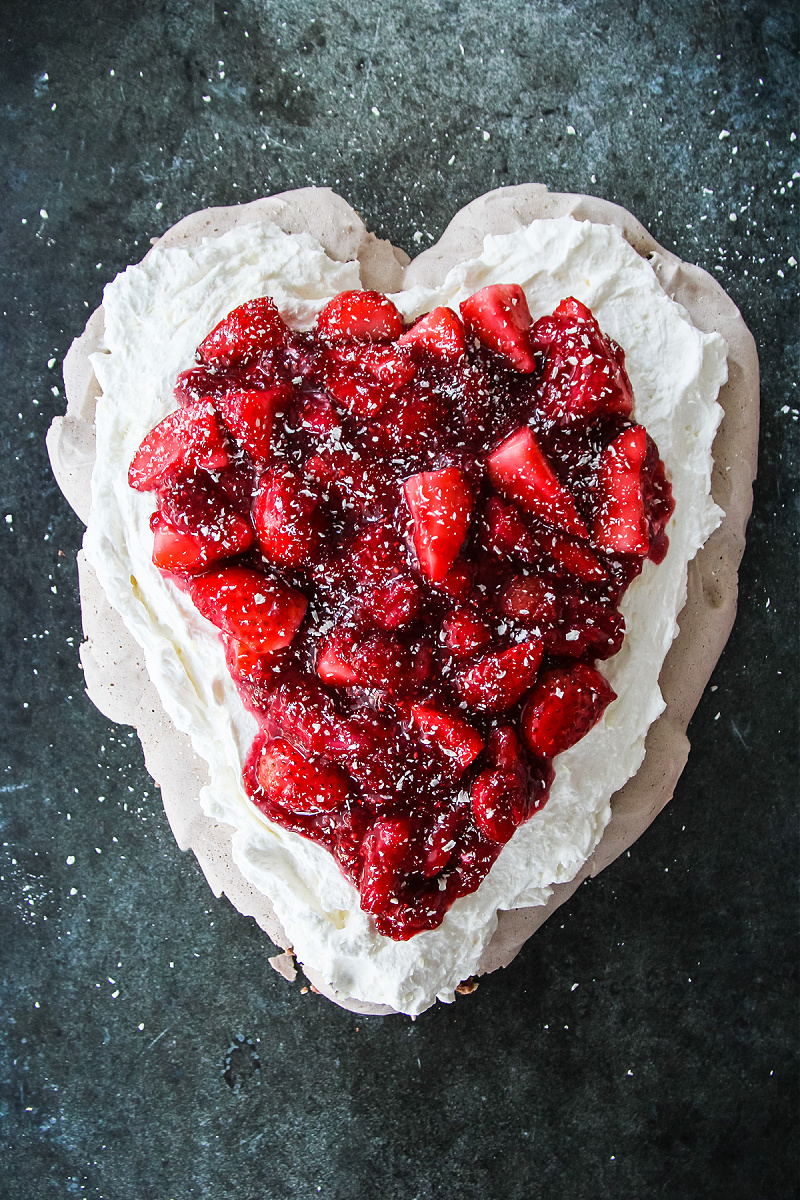
Chocolate Pavlova with Strawberries from A Pretty Life
I hope you enjoy these cookies as much as my family and I do. Make sure to check out the super cute recipes and resources from the bloggers above!

Red Velvet Cookies
Equipment
- Electric Stand Mixer or Hand Mixer
Ingredients
- ½ cup unsalted butter at room temperature
- 1 cup brown sugar
- 1 egg cold
- 1½ tablespoon whole milk at room temperature
- 1 teaspoon pure vanilla extract
- 3-4 drops Red gel food colouring you can add more or less to suit your preference
- 1½ cups all purpose flour
- ¼ cup cocoa powder
- 1 teaspoon baking soda
- ¾ teaspoon salt
- 1 cup semi-sweet chocolate chips I used a combination of coloured red ones and regular brown ones
Instructions
- Line a baking sheet with parchment paper. Set aside.
- In.a medium bowl mix together flour, baking soda, salt, and cocoa powder. Set aside.
- In the bowl of an electric stand mixer, cream together butter and brown sugar for 1 minute until light and fluffy.
- Scrape down the sides of the bowl. With the mixer on low, add in the egg and mix until combined. Scrape down the sides again.
- Add in vanilla, milk and red food colouring. Mix to combine.
- With the mixer on low speed, gradually pour in flour mixture. This should take about 20 seconds. Only mix to combine. Do not leave mixer running.
- Use a spatula to fold in chocolate chips.
- Wrap dough in plastic wrap and refrigerate until firm and cold to touch (1-3 hours.)
- Remove dough from refrigerator. Preheat oven to 350 degrees F.
- Roll dough into balls 2 tablespoon in size. Place on cookie tray 2 inches apart. Do not press the cookies down.
- Bake at 350 for 10-12 minutes or until the tops of the cookies are no longer shiny. They will appear slightly under cooked.
- Allow to cool for 2 minutes on the tray before moving to the cooling rack.






Jo-Anna says
These look delicious Blair! Perfect for Valentine's Day!
Blair Braz says
Thanks Jo-Anna! The perfect Valentine's snack treat!
Jenn says
I always love a good red velvet recipe and the soft and chewy cookies are the best! So cute for Valentine's Day!
Blair Braz says
Me too!! And yes, such a perfect simple treat for Valentine's Day!
Shan says
The recipe turned out well but the consolidated instructions are missing a few steps and I almost forgot to add some important ingredients. Please correct the instructions!
Blair Braz says
Thank you so much for the note. My sincere apologies. I've added it into the instructions!!