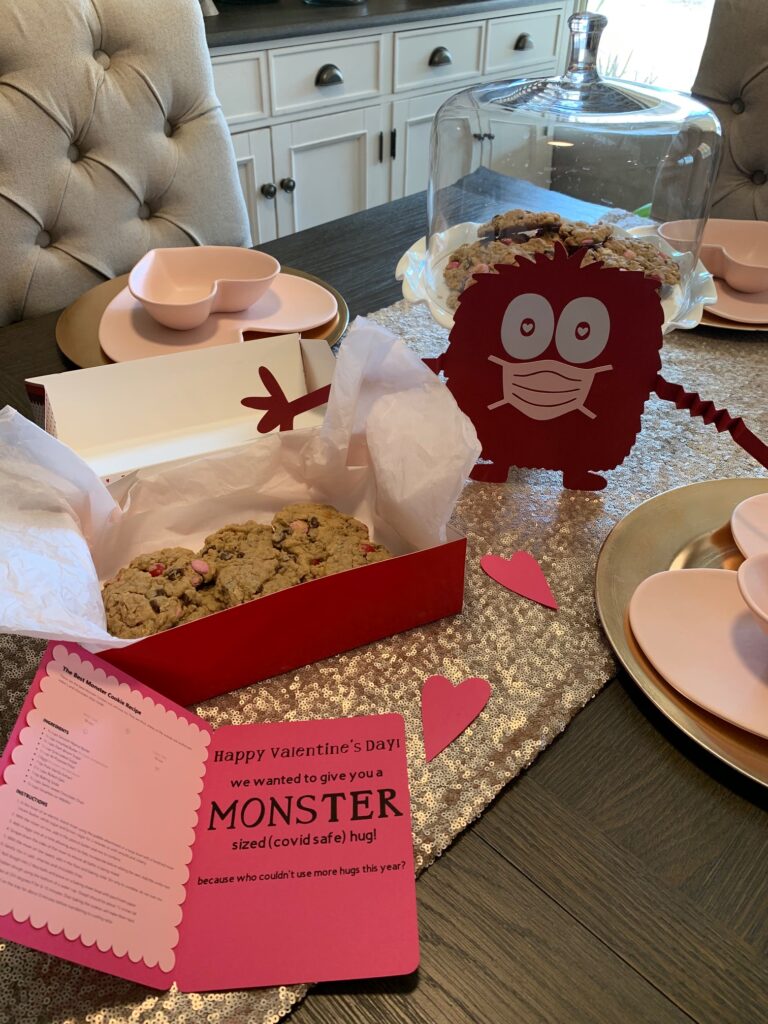
If you're looking for some inspiration for homemade Valentine's Day gifts, this post is for you! We're packaging up our monster cookies with an adorable printable monster Valentine's Day card.
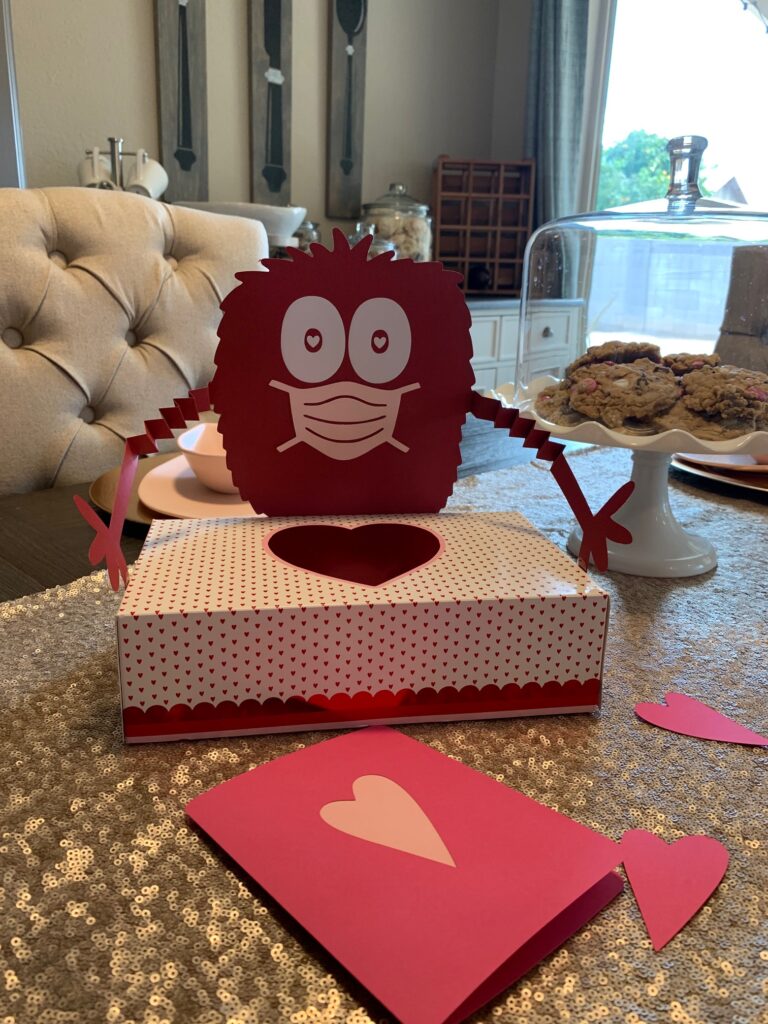
SPREAD SOME MONSTER SIZED LOVE THIS VALENTINE’S DAY!
First and foremost, I would like to thank Blair for allowing me to guest post on her blog today (I feel like such a celebrity!) I started following Blair back in March when she did her free bake along on Facebook / Instagram, and I have been hooked ever since. She has seriously boosted my confidence so much in the kitchen when it comes to baking and I am just so thankful that I found her and all her amazing recipes!
This post is all about spreading some love this Valentine’s Day with homemade Valentine's Day gifts! Since most of us are still confined to our houses most of the day, Blair and I wanted to come up with a cute and simple way to spread some love to your neighbours, friends, and family – while being COVID safe.
You're going to love this because:
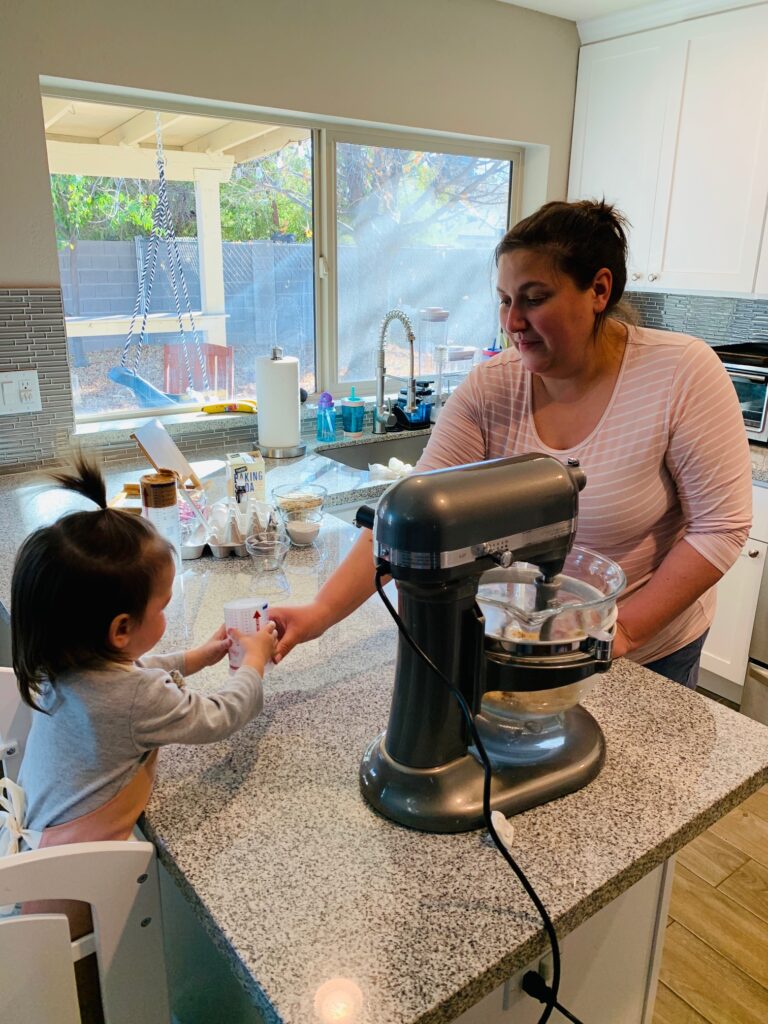
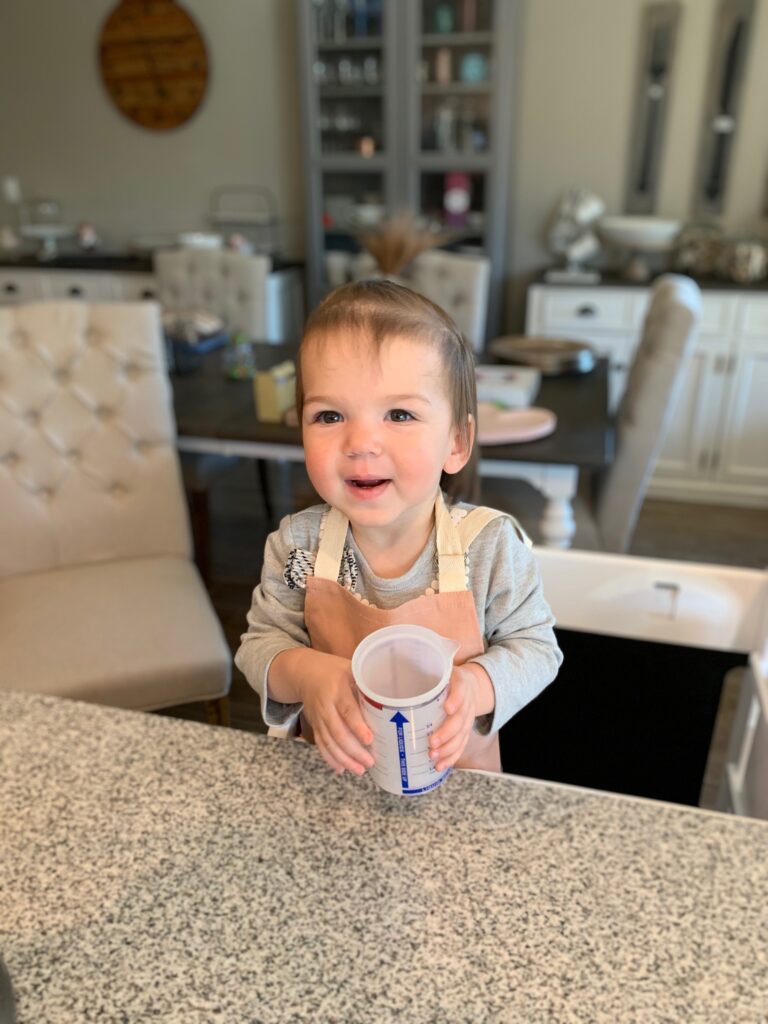
- This is a simple, fun, and interactive activity to do with your kids!
- You do not need a ton of fancy ingredients or supplies to make it.
- The little monster is versatile and can be used in multiple ways!
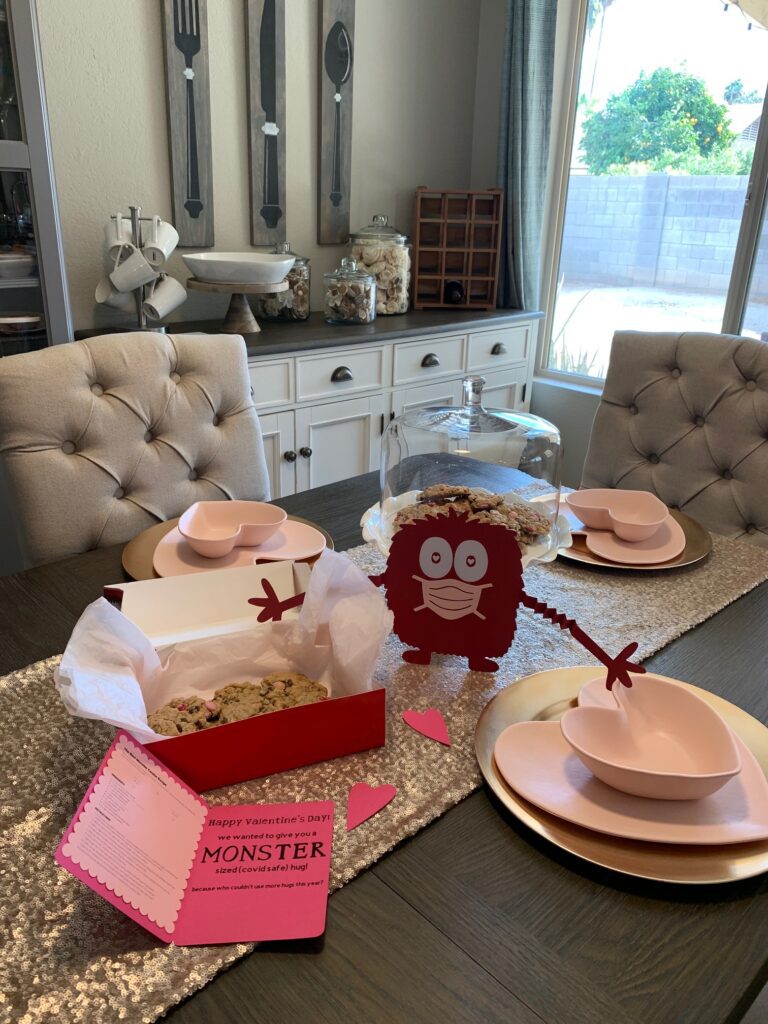
I was inspired by Blair’s Monster cookie recipe. We made these for Christmas as our cookies for Santa, and we put red and green M&M’s in them. For this holiday, I figured why not change up the M&M colors and make these festive for Valentine’s Day too!? The theme was set. I ended up choosing a monster since my daughter is OBSESSED with Monster’s Inc. & Monster’s University so I might have had monsters on the brain. My next thought was, how can we share these treats since most kids/ adults are doing virtual learning/ work from home? This year more than ever, people also need hugs… MONSTER sized hugs. Thus, my little hugging COVID safe monster was born.
How to Make Monster Cookies
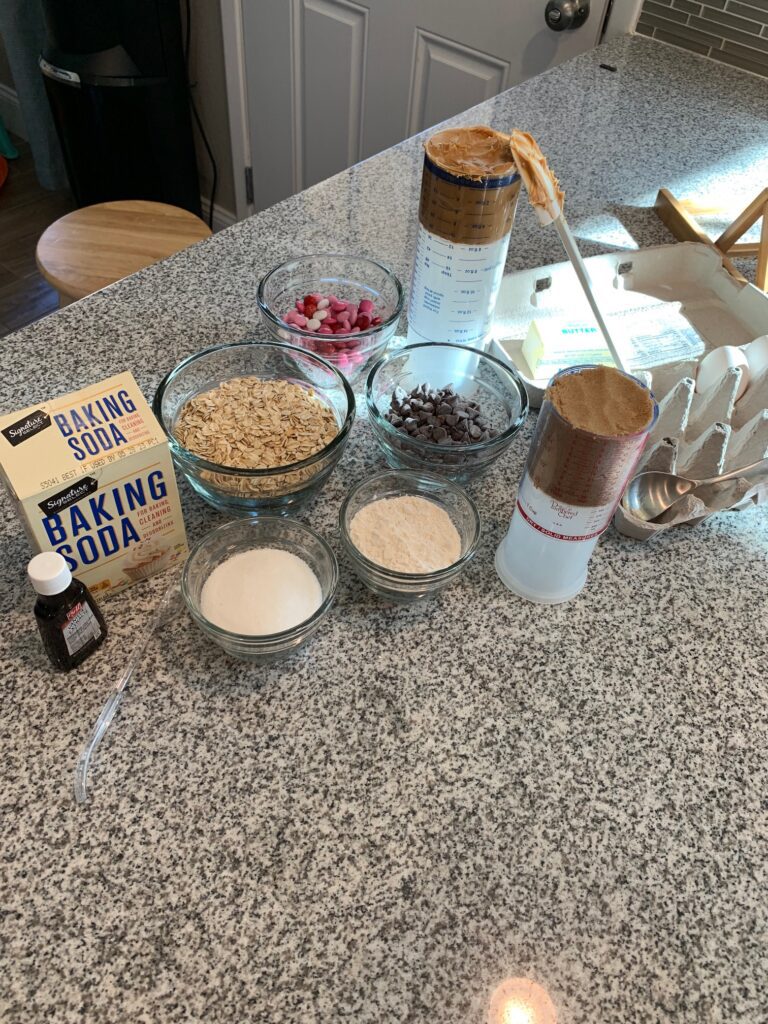
This recipe is taken straight from Blair’s post on Monster Cookies. I simply l changed the M&M’s to pink, red, and white. Blair's full monster cookie recipe is inside the card that goes with these cookies. This way anyone you deliver these to can make them!! Plus it's helpful knowing exactly what is in them for allergy purposes.
What You'll Need to Make Your Monster and Valentine's Day Card
- 8 ½ x 11” Cardstock Paper:
- 2 sheets white (monster body & arms)
- 1 sheet light pink (recipe insert for card)
- 1 sheet dark pink (card)
- OPTIONAL (for cutting machine):
- 2 sheets red (body & arms)
- 1 sheet light pink (mask - can also use iron on material if desired)
- 1 sheet white (eyes - can also use iron on material if desired)
- Crayons / colored pencils / markers
- Glue Dots or any kind of paper safe adhesive.
- Scissors
- Printer (a regular home office printer is NEEDED for this)
- X-Acto knife / Cutting Mat (this is optional – only if you want to cut the heart out of the front of the card)
- Treat Box for your cookies – I got mine from Michael’s, but you could use any box / small tin / bucket, etc.
How to Make the Printable Monster for Your Homemade Valentine's Day Gifts
There are two different ways that you can make this little monster. One is using the “coloring book pages” where your kids (or you – no judgement here) can color in the monster and cut him out yourself. The second option is cutting him, and all his elements out of multiple pieces/colors of cardstock – like I did using my Cricut machine. Whichever way you choose to make him, the steps are remarkably similar.
Download Your Monster Printables Here
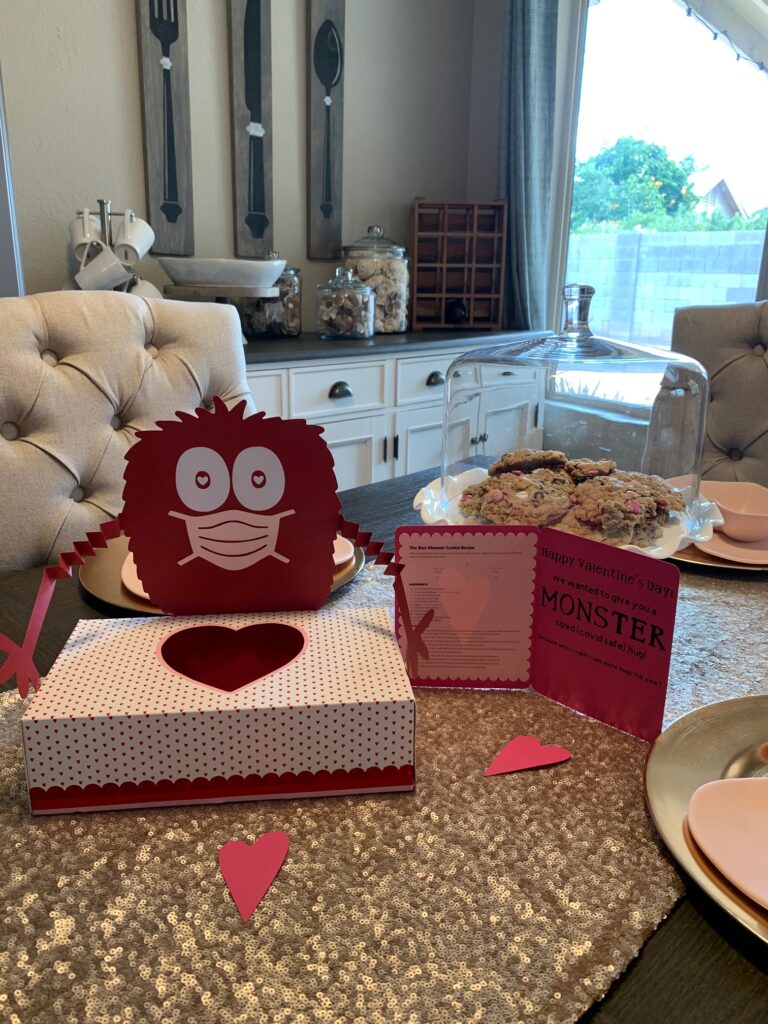
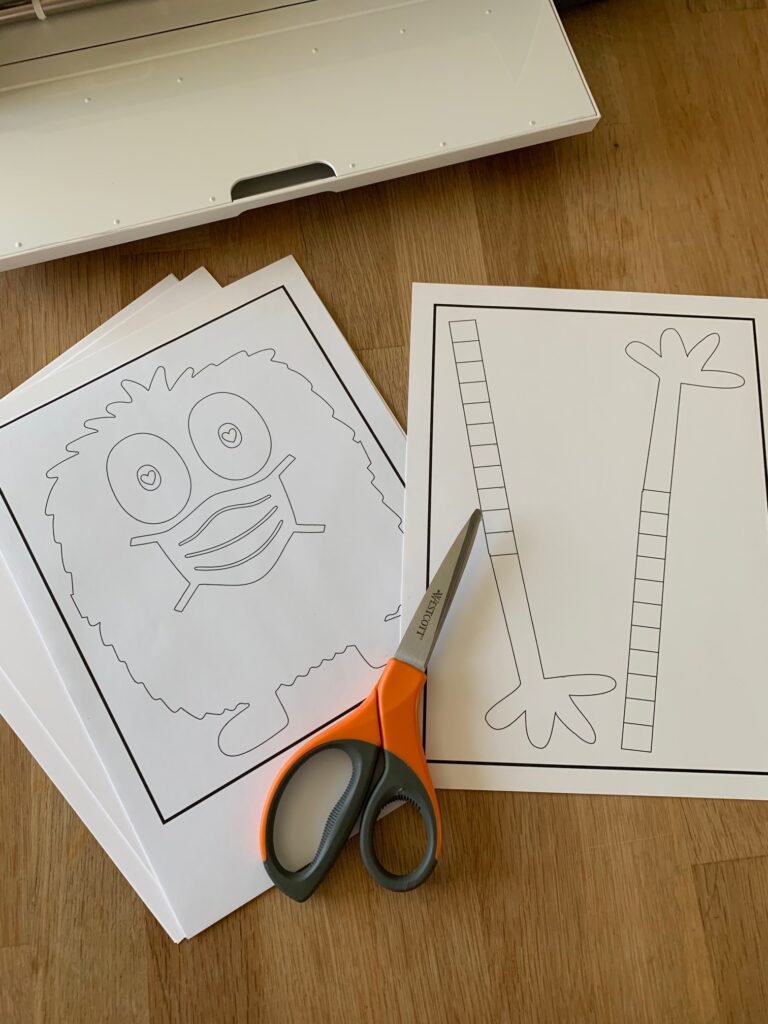
STEP 1: Print your monster. You will want to use white cardstock, and print the “Coloring Pages” if you want to color him in. I have included the images for all the monster’s components, if you decided to use a cutting machine, like a Cricut. If you do not have a cutting machine but would like to cut him out of different colors of cardstock, you can also print these images directly onto the color cardstock of your choice and simply cut out the individual components. Either way, you will want to use cardstock (not regular printer paper) to give him some weight / make it, so he is able to “stand up” when you attach him to the box.
STEP 2: Color your monster using crayons, color pencils, etc.
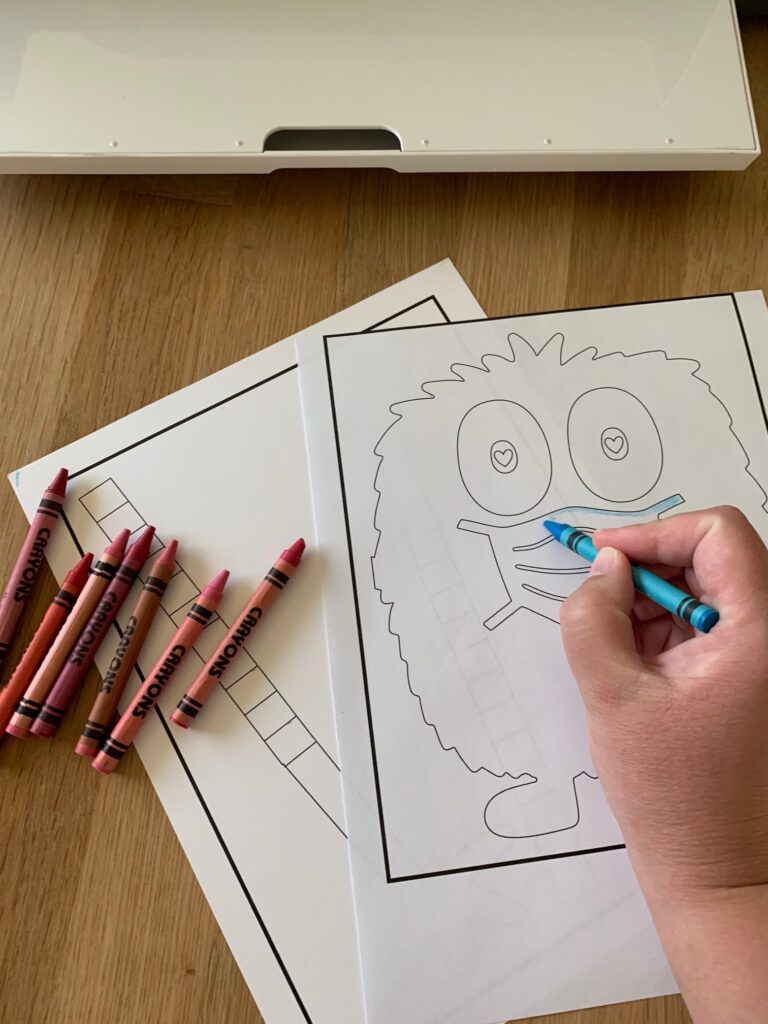
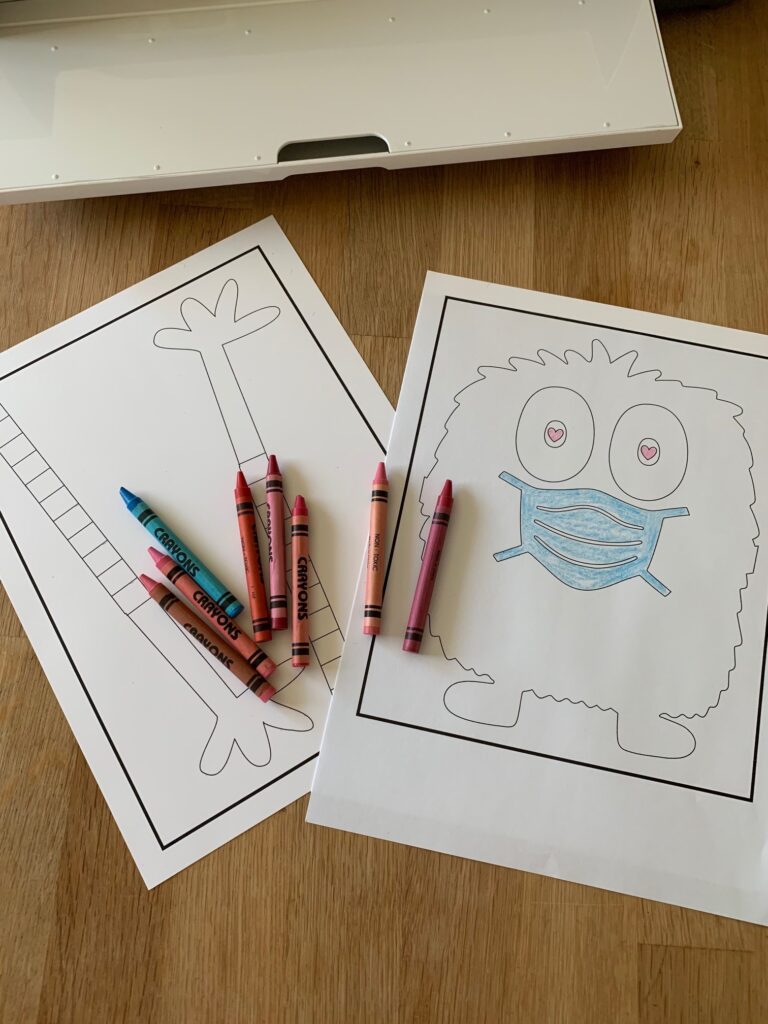
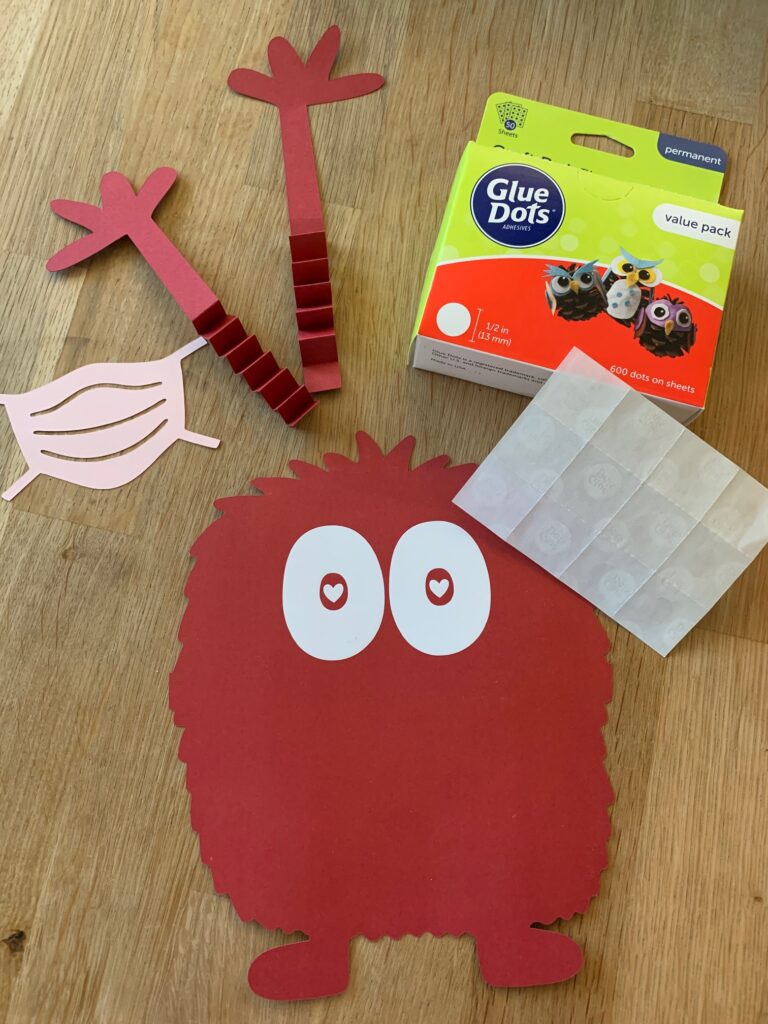
STEP 3: Cut out your monster. For those of you that colored your monster, you will want to cut his whole body out, and then the two arms. If you used colored cardstock, cut out his body, two arms, two eyes, and mask.
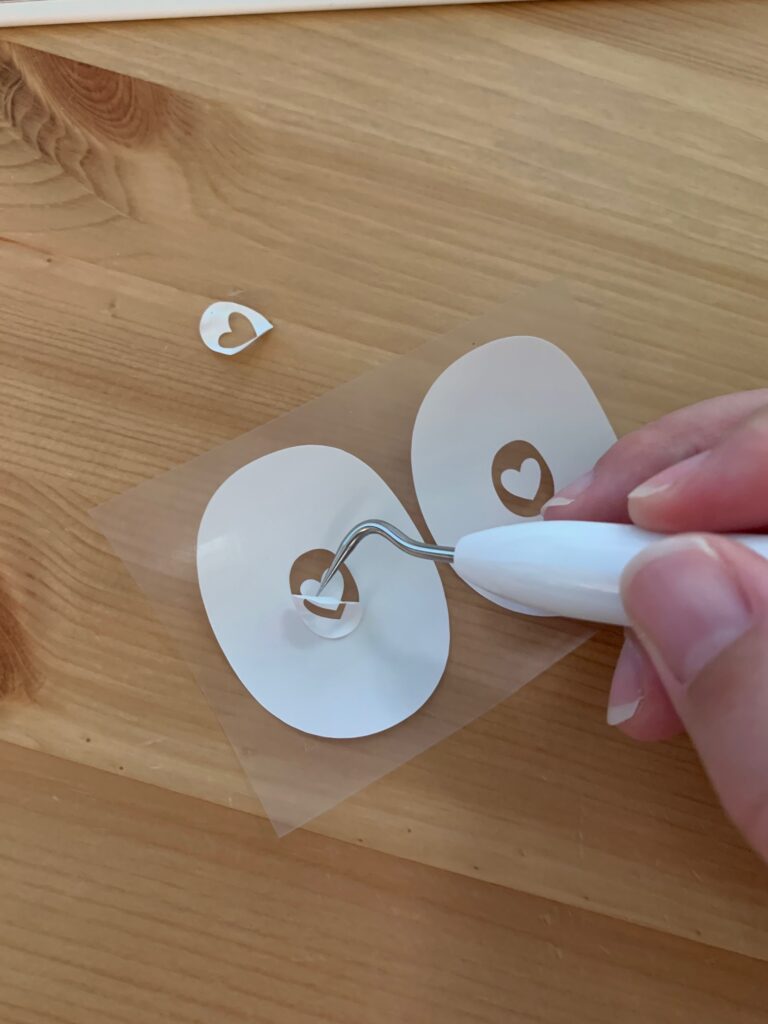
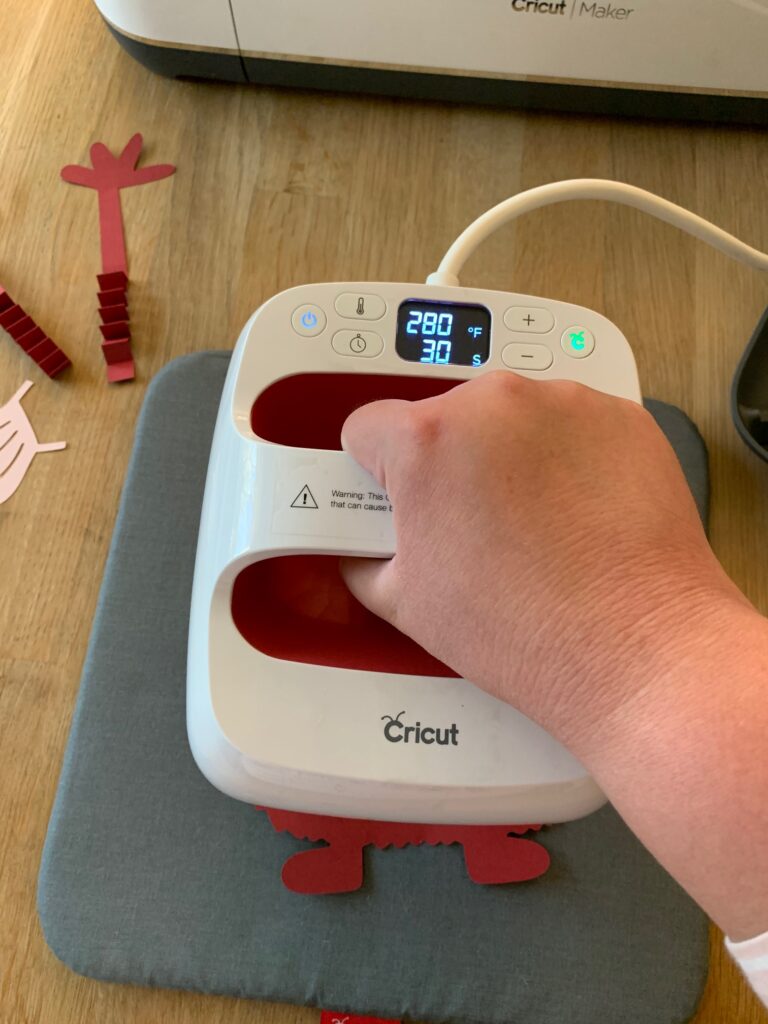
STEP 3.5: A totally optional step – for the eyes on my monster I happened to use iron-on material. This step is to weed and attach your eyes IF you used an iron on material. Again, this is only if you put your images into a cutting machine software, such as Cricut. If you use the coloring pages, your eyes are already attached. If you cut them out of cardstock, you will still move onto the next step and attach your eyes later with glue dots.
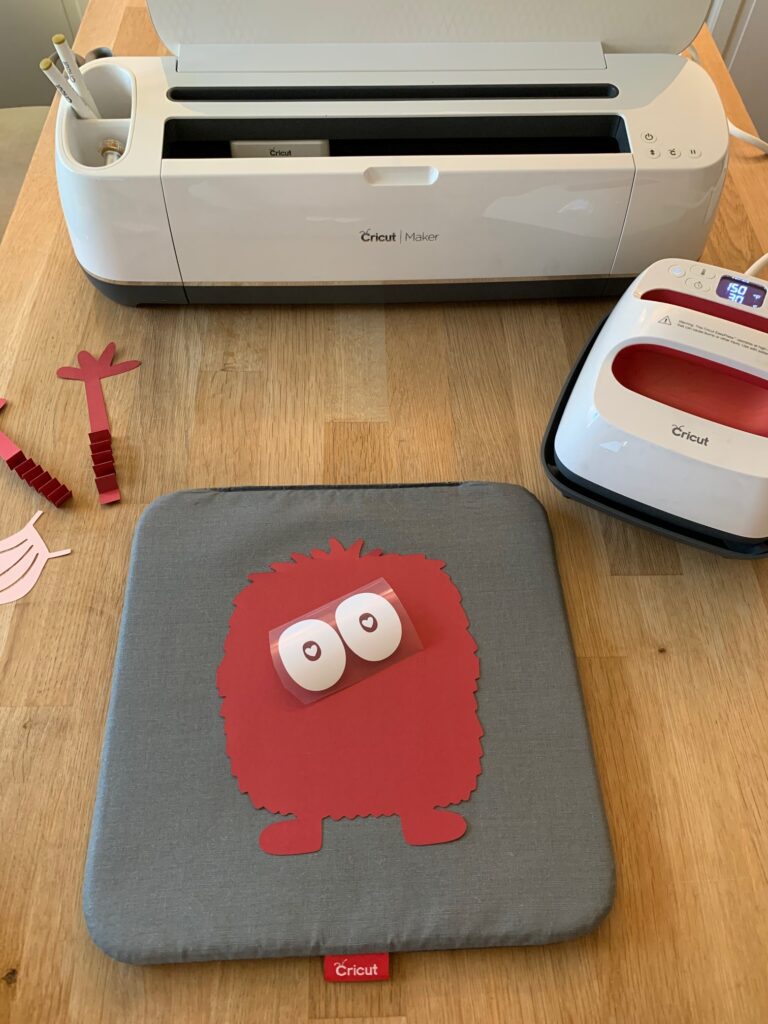
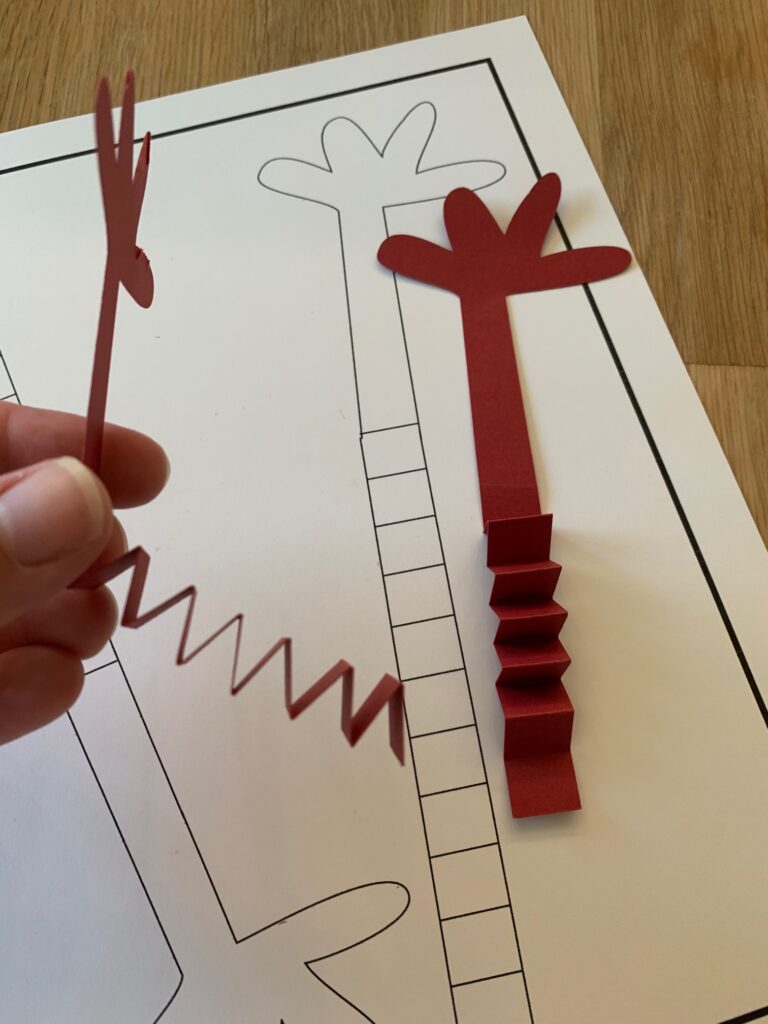
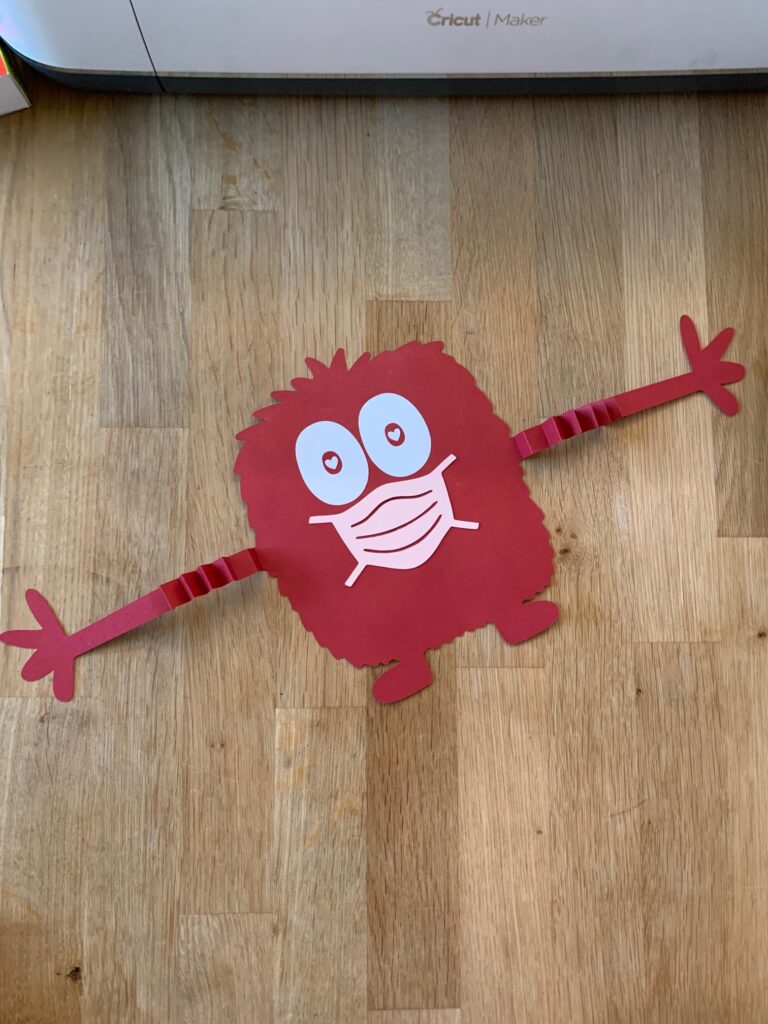
STEP 4: Fold your monsters’ arms – the lines that are printed on his arms are fold lines. You want to fold back and forth on the lines to form a zig zag pattern (see photo).
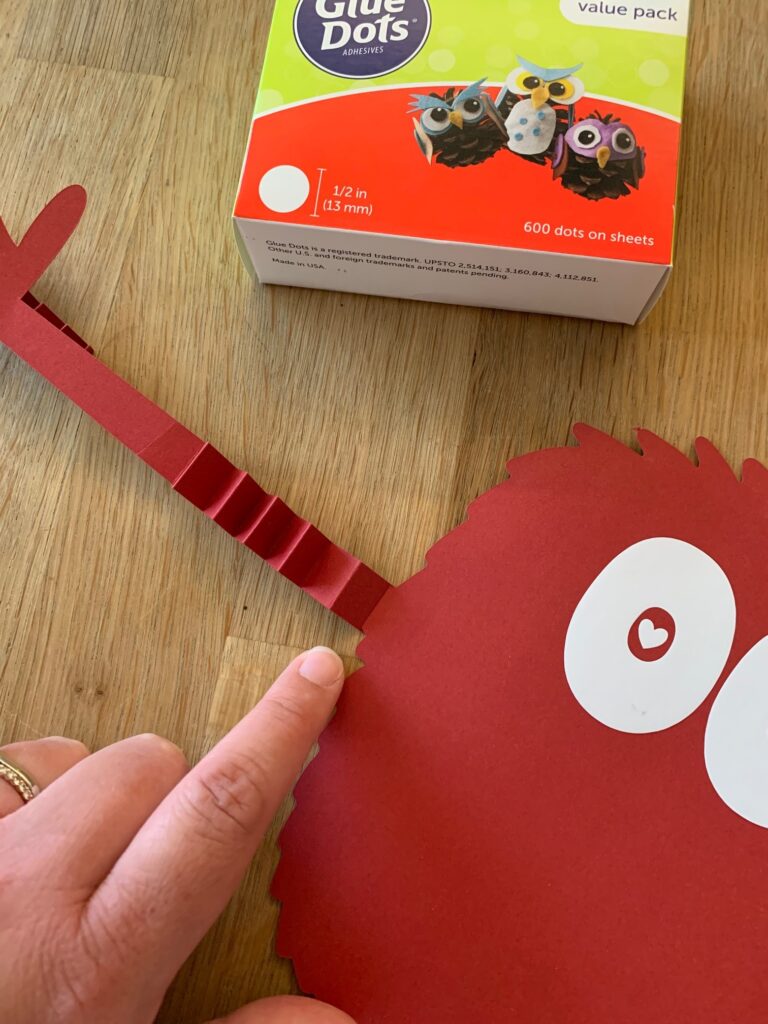
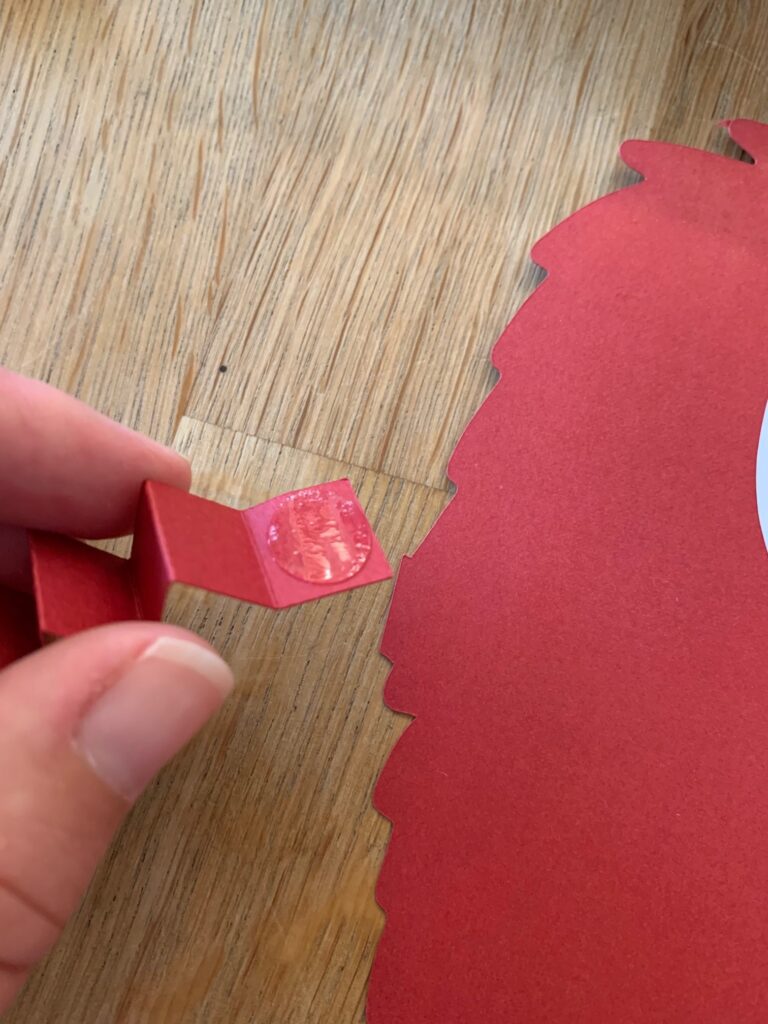
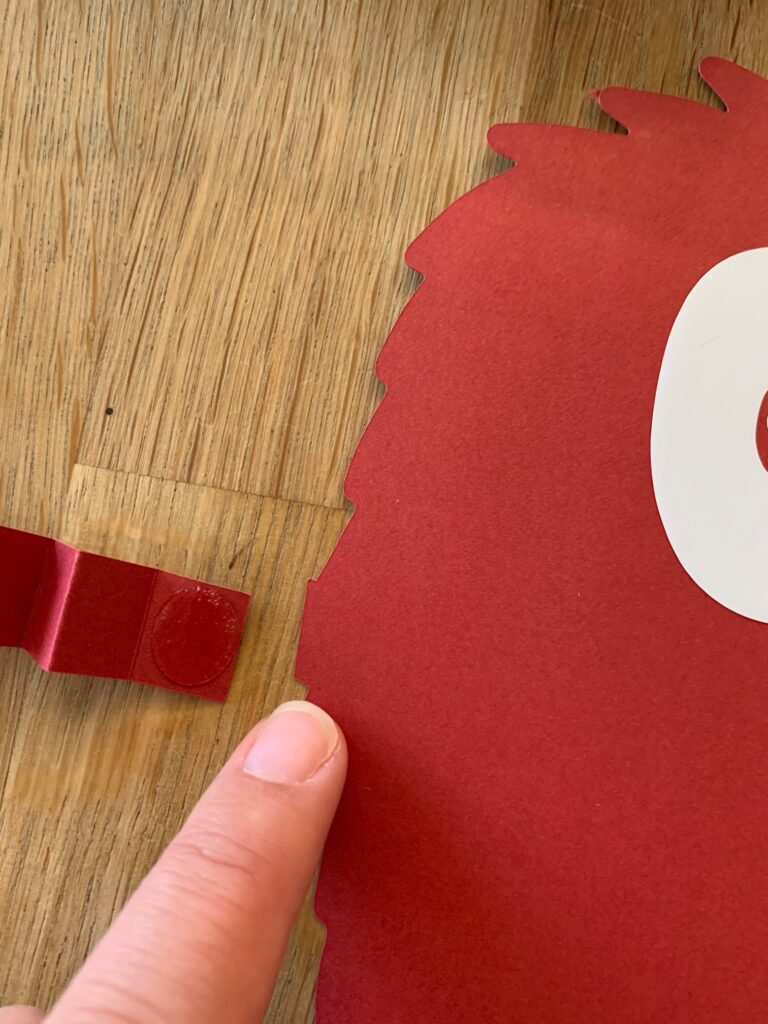
STEP 5: Attach your monster. If you use the coloring pages, this is just simply attaching your arms to the monster body. If you cut all your pieces out you will need to attach your arms, eyes, and mask. I used Glue Dots to attach everything to my monster. You can use any adhesive that is safe for paper that you already have at home. Apply the adhesive to the flat side of the arm and attach it to the body. There is a small rectangular edge on each side of the body where the arms line up. Make sure to attach the arm to the back side of the monster body (see photos).

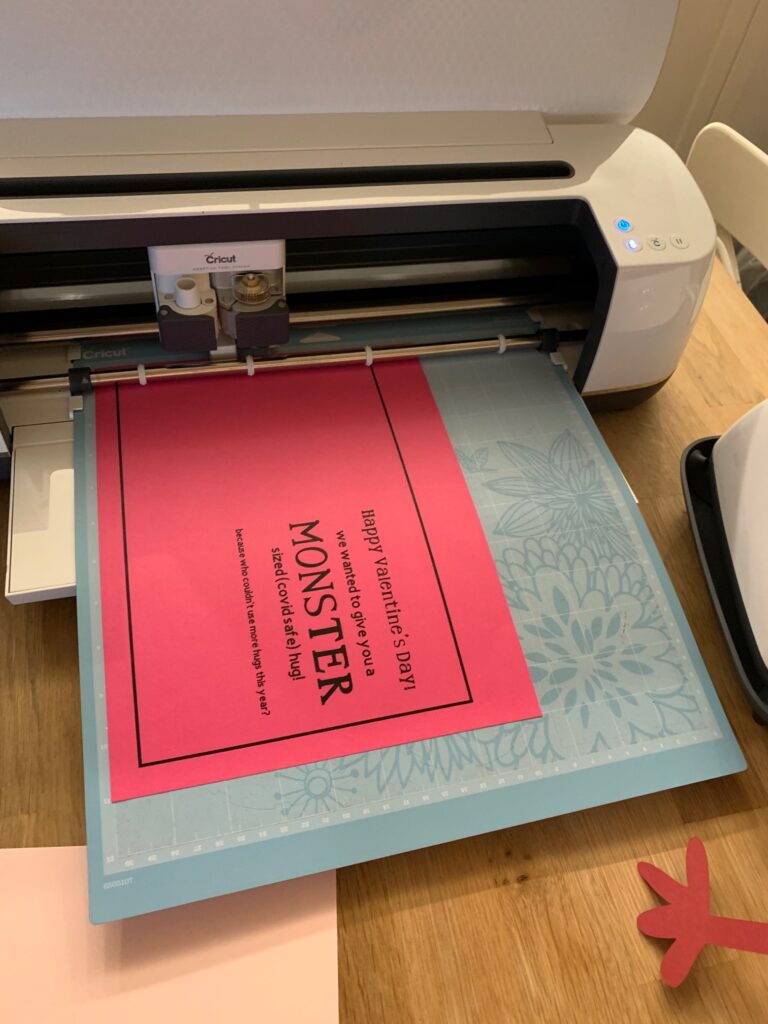
STEP 6: Print, cut out, and assemble your card. I've included the files for the recipe insert and card. I printed these directly onto a light/dark pink cardstock and used my Cricut to cut the card out. You can easily cut it out yourself. If cutting it out yourself, you'll need an Xacto knife to cut the heart out of the front of the card, otherwise you could simply draw it on. Next, once you have both pieces cut out, attach glue dots to the four corners of the recipe card insert and attach to the inside flap of the card.
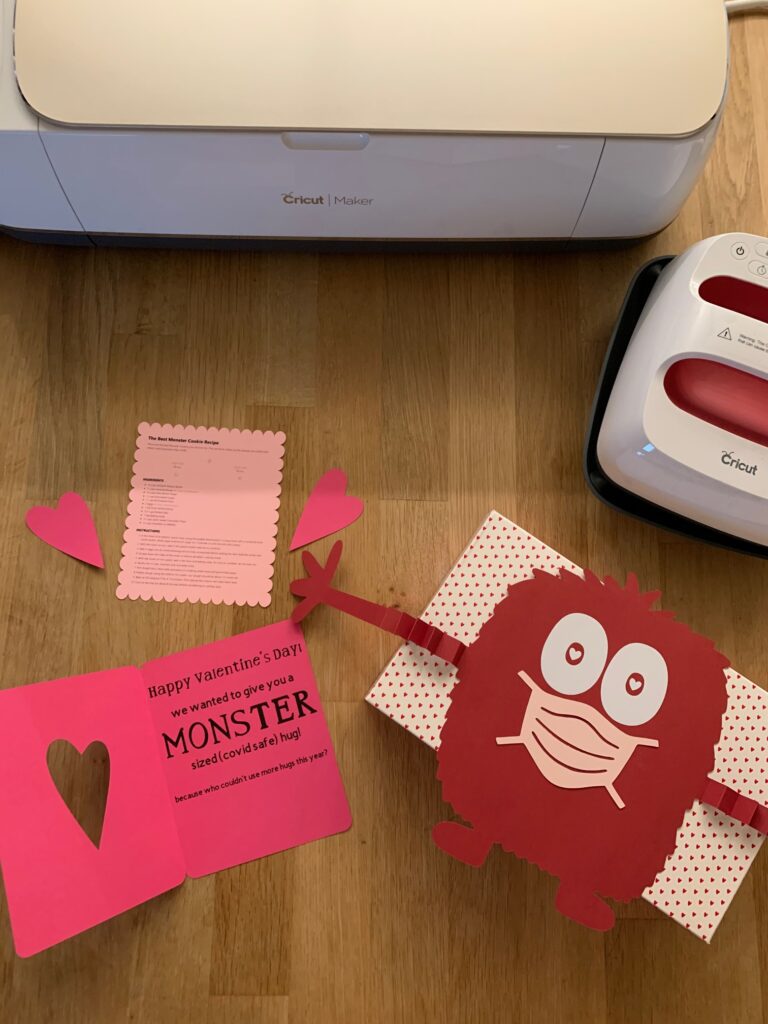
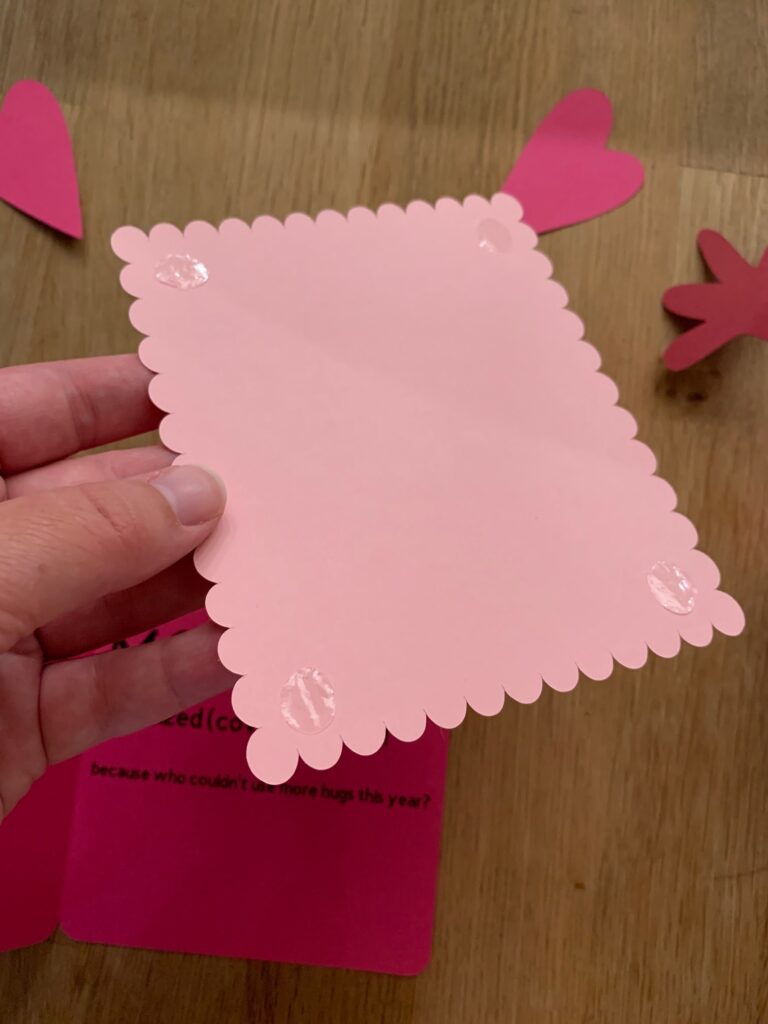
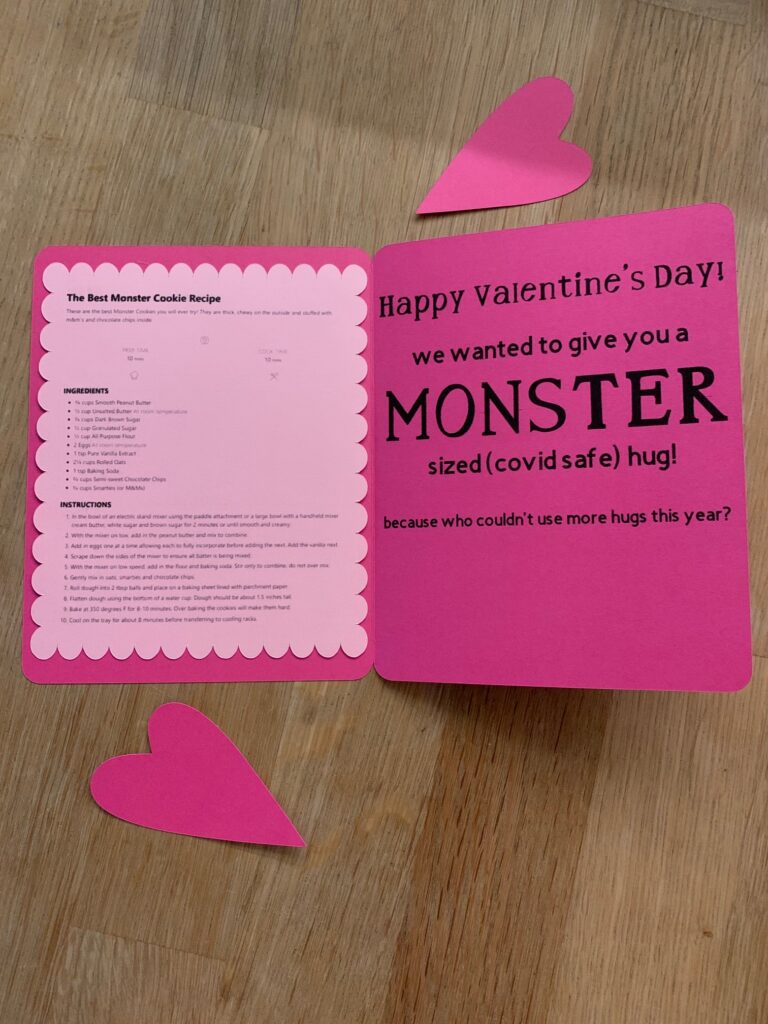
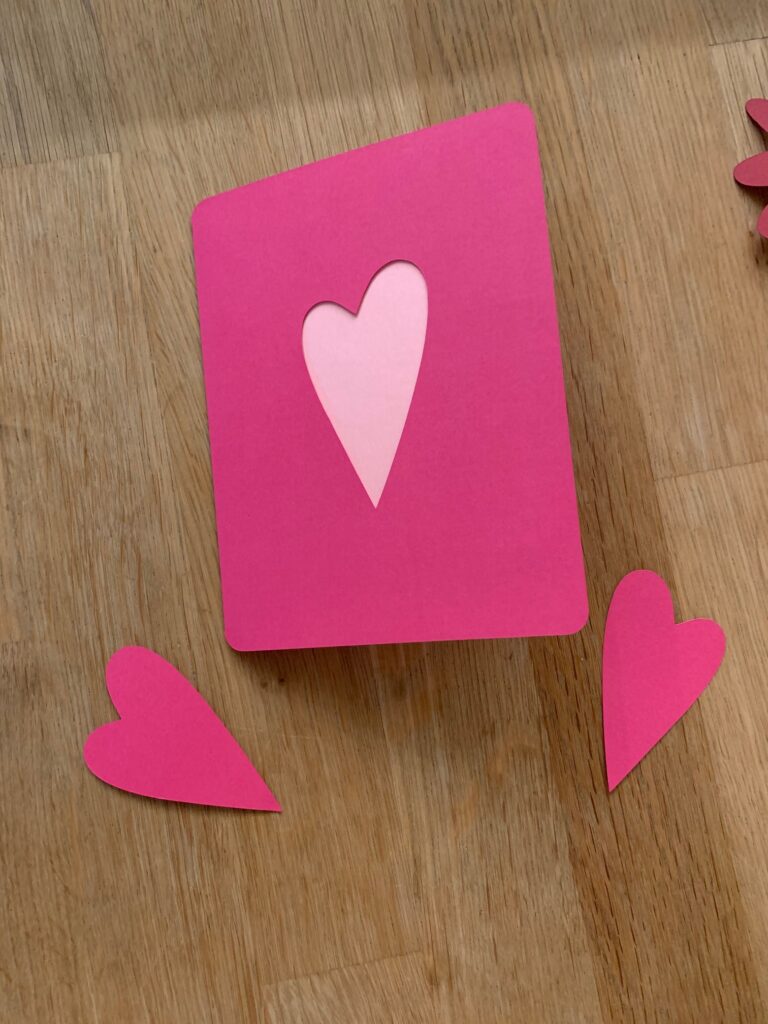
STEP 7: Attach your monster to your box of cookies! I again used glue dots by putting one on each foot, and one on each little thumb and attached him at a height that I liked on the box (see photos).
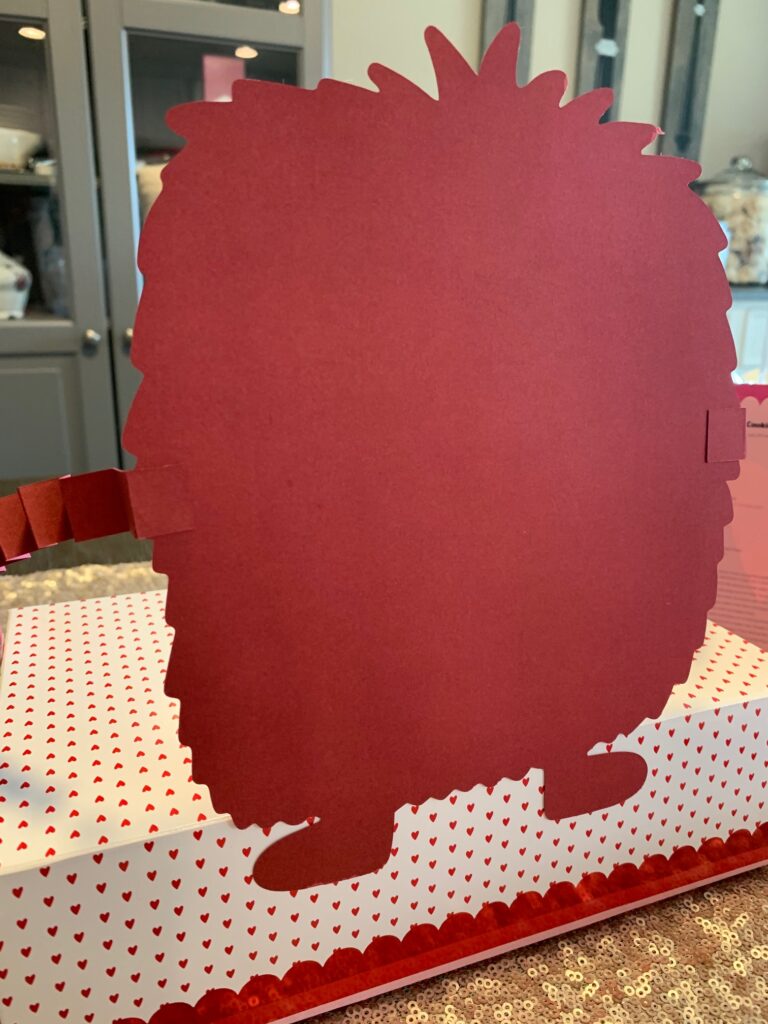

You have some creative freedom here! You could attach lollipop sticks / skewers to his feet and hands and use him as a cake topper, or you could use any kind of box, small bucket, etc. to attach him to. I happened to have a box from Michael’s readily available. I put in some tissue paper along with a small sheet of parchment paper just so the cookies would not leave a mark on the bottom of the box after I loaded in my cookies!
Thank you so much for reading and joining us in spreading the love this year by making homemade Valentine's Day gifts. We would love to see your final products if you complete this!
Buzz Buzz
-B
Thank you so much to Liz for putting together this amazing post and activity for you all to try! For more crafting inspiration from Liz, make sure you check out her blog Liz Bee Crafts!


Leave a Reply